fcl-web3auth-plugin

Description
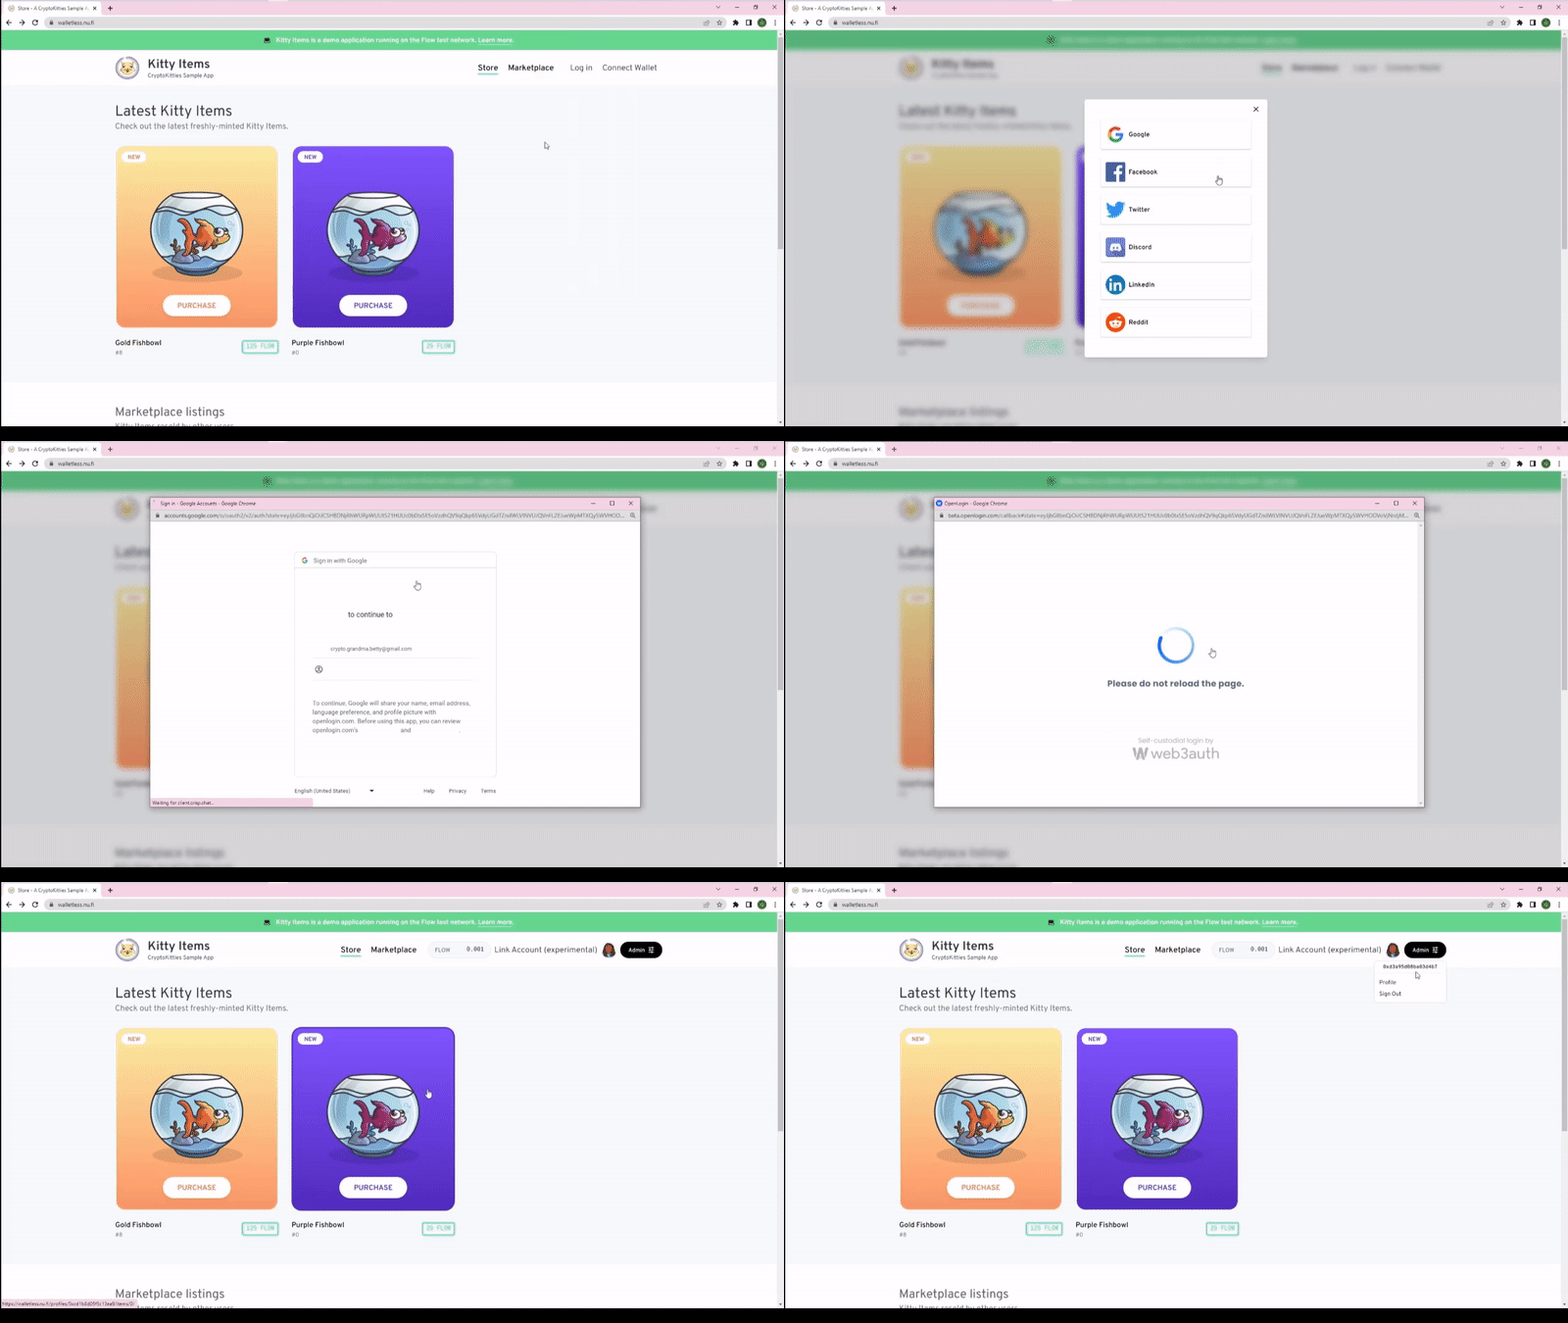
This package is a plugin for DApps on Flow blockchain that already use FCL. It enables users to log in in through popular social login providers such as Google, Facebook, Discord and others. With a couple of lines of code, allow your users to onboard more easily through social login of their choice and keep your FCL integration untouched. A "Kitty Items" demo app using this lib is deployed at https://walletless.nu.fi/ and here you can find more about Web3Auth, the service powering this package.
Prerequisites
- An existing project using FCL authentication
- Create a web3auth account (currently, there's a free plan available) and set up a
Plug n Play project there. Choose your project name, pick environment (network parameter), for "Chain" select "Any other chain". You will get a client id specific your application. More info in Web3Auth docs
Installation
npm install @nufi/fcl-web3auth-plugin
or
yarn add @nufi/fcl-web3auth-plugin
API Reference
init(args: InitArgs): void
Initialize the package with the specified arguments. This method in the background initialized the Web3Auth integration with the Plug n Play project. It will perform the user login through the OpenLogin adapter. More info can be found in Web3Auth docs
clientId: The client ID for authentication. Create a web3auth account (it's free) and create a project. Choose your project name, pick environment (network parameter), for "Chain" select "Any other chain". You will get a client id specific your application.network: The Web3AuthNetwork to connect to (mainnet, testnet, or any other Web3Auth network, not to be confused with Flow blockchain mainnet/testnet!)mfaLevel (optional): The MFA (Multi-Factor Authentication) level. Default: 'none'.uxMode (optional): The UX (User Experience) mode. Default: 'popup'.
NOTE: call this function basically as soon as possible, ideally in a useEffect or somewhere else when the window object is available
Examples
export default function MyApp() {
  useEffect(() => {
    config({
      clientId: 'your_key'
      networkType: 'testnet',
    })
  }, [])
  return <App />
}
auth(args?: AuthArgs): Promise<void>
Authenticate the user.
args (optional): An object specifying the authentication arguments.
- If
args contains a loginProviderWhiteList property, the user will be shown a login modal with the specified login providers (ordered the same as in the passed array).
- If
args are undefined, the user will be shown a login modal with all login options.
Examples
In case you want to use the default UI
import {auth} from 'fcl-web3auth-plugin'
...
...
<div>
  <button onClick={() => auth()}>
    Log in
  </button>
</div>
authWithProvider(loginProvider: Web3AuthLoginProvider): Promise<void>
Authenticate the user with the selected login provider.
- user will be authenticated using the specified
Web3AuthLoginProvider.
In case you want to use your own UI
import {auth, loginProviders} from 'fcl-web3auth-plugin'
...
...
<div>
  {loginProviders.map(({loginProvider, name}) => {
    return (
      <button onClick={() => auth(loginProvider)}>
        {name}
      </button>
    )
  })}
</div>
loginProviders: Web3AuthLoginProvider[]
An array of available login providers. Handy if you want to have your own UI for the login options or if you want display more info about them.
setCallbacks(callbacks: Partial<WalletActionsCallbacks>): void
Configure the package with the specified callbacks.
callbacks: An object containing partial implementations of the WalletActionsCallbacks interface.- This callbacks allow you to call you own actions instead of the default ones:
- when an account is being created, (which might take a while and for this reason a default loading overlay is provided)
- when signing transactions
NOTE: calling setCallbacks is optional, in case you are fine with using the default UI you do not need to call it
Examples
If you want to disable confirm popup
import {setCallbacks} from 'fcl-web3auth-plugin'
...
setCallbacks({
  confirmSign: (onSign) => {
    return onSign()
  },
})
experimentalLinkAccount(args: LinkAccountArgs): Promise<string>
Experimental feature, not production ready, waiting for the official standard for hybrid custody to be finalized
- submits two transaction, first a child account (Web3Auth account) publishes its auth account capability to the parent address, then the parent (a regular wallet like NuFi, Lilico) submits a transaction claiming the capability
Key derivation
The keys are derived according to FLIP-200
- get
entropy from web3auth
- create
mnemonic from entropy using bip39 (this ensures portability of the account to NuFi wallet even without account-linking)
- get
seed from mnemonic
- derive bip32 keypair using
m/44'/539'/0'/0/0 path
- use
secp256k1 derivation curve
- use
SHA2 hashing algorithm
Examples
Check KittyItems demo app here.
Check the repo here
Development
Install dependencies:
yarn install
Build the package:
yarn build
Validate types:
yarn test:tsc
Run linter:
yarn lint
License
This project is licensed under the MIT License - see the LICENSE file for details.